jueves, 24 de marzo de 2022

miércoles, 10 de noviembre de 2021

viernes, 8 de mayo de 2020
jueves, 23 de abril de 2020
MAKING A DIGITAL FLIPBOOK

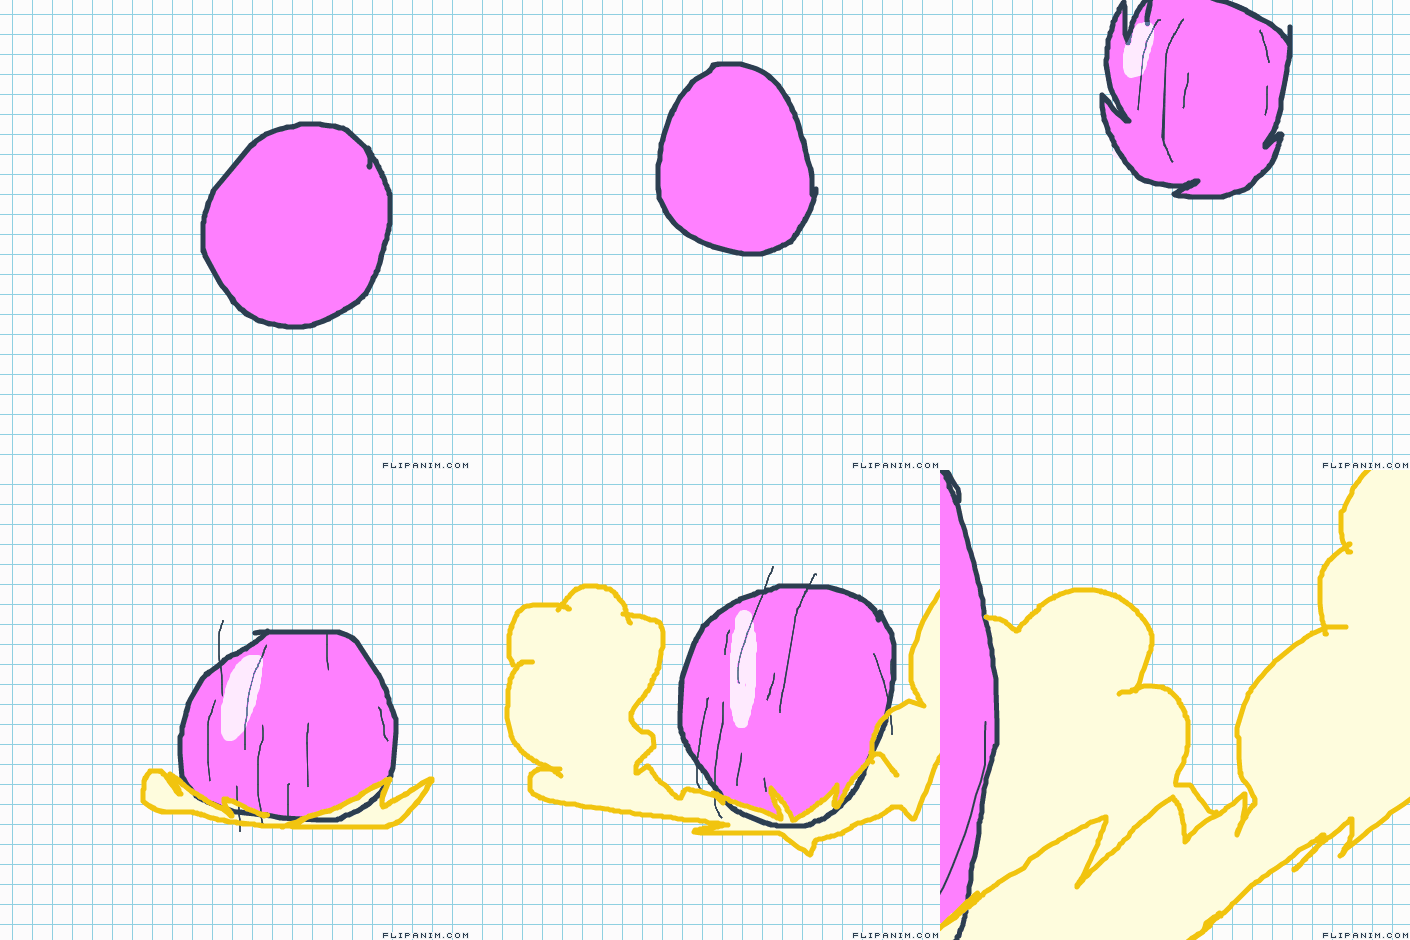
Notice that you have videos embedded (sorry but I did them in spanish) to make it easier to understand what I want you to do.
We are going to use flipanim to make our animation.
I will publish your pieces of art so you can see them all.
REMEMBER:
- Your animation has to be composed of at least 40 frames.
- You have to upload it to flipanim´s gallery (remember that there is no need of signing in to do it.
- Once you have it on the gallery make sure that you copy the url, and download it as a gif.
- Send the animated gif (as an attached file) and the link to me.
Here you can find your artwork:
miércoles, 8 de abril de 2020
Creando una animación con Flipanim
En esta presentación tenéis información sobre cómo hacer esta animación digital.
Se llama Flipanim.
Para aprender a utilizarla seguid las instrucciones dadas en los vídeos incluidos en la presentación.
Enviadme al correo el gif animado que os descarguéis, así como la url (no os preocupéis, está explicado lo que es en un pequeño vídeo) que obtendréis al subir vuestro flipbook a la web.
Os dejo aquí la presentación que estoy haciendo con vuestros trabajos.
miércoles, 1 de abril de 2020
domingo, 22 de marzo de 2020
OVAL, OVOID AND SPIRAL
ASSIGMENTS
PART 1. - Draw an ovoid, an oval and a spiral in the same manner that they are drawn in the picture below.
Use graphite pencils or mechanical pencils (2H or HB)
Use graphite pencils or mechanical pencils (2H or HB)
You will need a compass, and a set of squares or a ruler

PART 2. -Copy the outline of these shapes (2D) on a Basik paper and try to draw real objects with the same form (3D) in the same manner that is shown in this picture. i
Use colour pencils, markers, watercolours, etc.
If you are able to use the 0,8 fine liner to draw the outline that is fine (please use the compass to do it, don´t do them freehand).
Use colour pencils, markers, watercolours, etc.
If you are able to use the 0,8 fine liner to draw the outline that is fine (please use the compass to do it, don´t do them freehand).

These constructions are made with GeoGebra. As you know they are interactive (you can change the position of the blue points). Don´t forget to put axis CD horizontal the way you can see on this picture.

Here you have a video in case you need it.
Ovoid construction given its minor axis
If you pay a bit of attention you will realize that we draw the ovoide the exact same way we draw the oval.
jueves, 19 de marzo de 2020
PRESENTACIÓN CON VUESTROS TRABAJOS
Os dejo aquí esta presentación para que podamos compartir los trabajos que estáis haciendo como habríamos hecho de estar en el aula. Podéis hacerles una foto con el móvil o escanearlos, y enviármela a mi correo (ester.alonso@educamadrid.org) para que yo lo incluya en la presentación.

Si queréis hacer las consultas públicamente, os he dejado en la barra de la derecha del blog un enlace a un documento editable donde poder hacerlo. El foro está enlazado a esta imagen.
Si queréis hacer las consultas públicamente, os he dejado en la barra de la derecha del blog un enlace a un documento editable donde poder hacerlo. El foro está enlazado a esta imagen.
Si tenéis alguna pregunta, no dudéis en consultarme.
¡¡¡Nos veremos pronto!!!
martes, 10 de marzo de 2020
Designing a Yin-Yang symbol (tangencies)

TANGENCIES
Two elements (circles or arcs + other circles or arcs or even straight lines) are tangent when they have a common point called the point of tangency. This word has latin roots: the word TANGERE literally means to touch=TOCAR in spanish.
Algo tangible (misma familia que tangere) es algo que puede tocarse.
In this particular project we are going to work with circles and arcs.
To do so, it is essential to notice that the centers of the arcs are going to be aligned with the point of tangency (as you can see on the picture below). This is one of the fundamental properties of tangencies.

This assignment has two parts:
FIRST PART (after watching the video)
- As usual, we are going to draw 4 sketches so that you can pick the best one (2 days). Use colour pencils, watercolour, markers...

Notice that you have more symbols than needed. You may use the other two if you wish, or in case you make a mistake. Remember that you need to create, at least, four different sketches.
If you don´t have the opportunity of printing the worksheet, you can draw your own symbols following the steps given on this video (use the same dimensions). There´s no need to draw more than four...
-----------------------------------------------------------------------------------------------------------
PART TWO
- Choose the best of these sketches and draw it on a basik sheet of paper (DIN A4). Multiply the dimensions given on the video above by two or use a smaller radius (8 cm is ok) following this other steps.
------------------------------------------------------------------------------------------------------------
EXAMPLES
These are examples of what I would like you to get...viernes, 6 de marzo de 2020


sábado, 15 de febrero de 2020


miércoles, 29 de enero de 2020
FLEXTANGLES (KALEIDOCYCLES)
Here you have the template (DIN A4) just in case you want to make more flextangles at any time.
Link
jueves, 19 de diciembre de 2019


miércoles, 27 de noviembre de 2019
viernes, 8 de noviembre de 2019
STAR POLYGONS
Spanish version
Click on the image below to know the diference between stars and star polygons and how to get them.


Click on the image below to know the diference between stars and star polygons and how to get them.
Let´s see how to draw inscribed regular polygons:
Joining the vertices the way you can see below it is posible to draw star polygons.
Here you can find some examples of what I´d like you to do:


miércoles, 16 de octubre de 2019
Constructing regular polygons given one side

Line, ray and line segment
Thales´Theorem (measuring the Pyramid)
If a line is drawn parallel to one side of a triangle to intersect the other two sides in distinct points the other two sides are divided in the same ratio.
According to some historical sources the Greek mathematician Thales applied the intercept theorem to determine the height of the Cheops' pyramid.
Thales measured the length of the pyramid's base and the height of his pole (a long stick). Then at the same time of the day he measured the length of the pyramid's shadow and the length of the pole's shadow.
martes, 1 de octubre de 2019
sábado, 7 de septiembre de 2019
jueves, 5 de septiembre de 2019
RECAP: THE SEVEN ELEMENTS OF ART
Last year we were working on, at least, 6 of the 7 elements of Art. We are going to use them on this project just to remember them all.
These are the seven elements of art (if you click on the image you will find a video with a brief explanation of each element.
They are the basic building blocks of making art.
So how exactly does an artist use the elements? Working as an artist and creating an artwork is similar to being a chef and cooking a meal. The chef uses a list of ingredients combined together in certain amounts to produce a unique recipe. The artist uses art elements and combines them in different ways to create a unique piece of art. The elements of art are like the ingredients in a recipe. Sometimes artworks contain only one or two elements. Sometimes they have all the elements of art. One thing is certain, however. There would be absolutely no art without the seven elements of art.
Linked to the image you can find a video with a brief explanation of each element.

Use colours, textures and shading to enhance it (3D).
Use markers, colour pencils, and your fine liners...
These are the seven elements of art (if you click on the image you will find a video with a brief explanation of each element.
They are the basic building blocks of making art.
So how exactly does an artist use the elements? Working as an artist and creating an artwork is similar to being a chef and cooking a meal. The chef uses a list of ingredients combined together in certain amounts to produce a unique recipe. The artist uses art elements and combines them in different ways to create a unique piece of art. The elements of art are like the ingredients in a recipe. Sometimes artworks contain only one or two elements. Sometimes they have all the elements of art. One thing is certain, however. There would be absolutely no art without the seven elements of art.
Linked to the image you can find a video with a brief explanation of each element.
Divide the worksheet into two equal parts. On one half you will have to use technical tools (set of squares, compass, ruler, protractor...), on the other side you have to draw completely freehand. Make sure that there are no lines dividing the picture.
Use markers, colour pencils, and your fine liners...
jueves, 16 de mayo de 2019
ISOMETRIC LANDSCAPE
We are going to draw an urban landscape using isometric projection. To do so, you will need to use a grid paper. Don´t forget to include at least one circle in perspective, such as the ones you´ve already done inscribed in a cube.
Use colour to enhance the three-dimensionality.
You can find more examples on the presentation above
 |
| Inés T 2º ESO C |
 |
| Diego A 2º ESO C |
Suscribirse a:
Entradas (Atom)